Bubbles
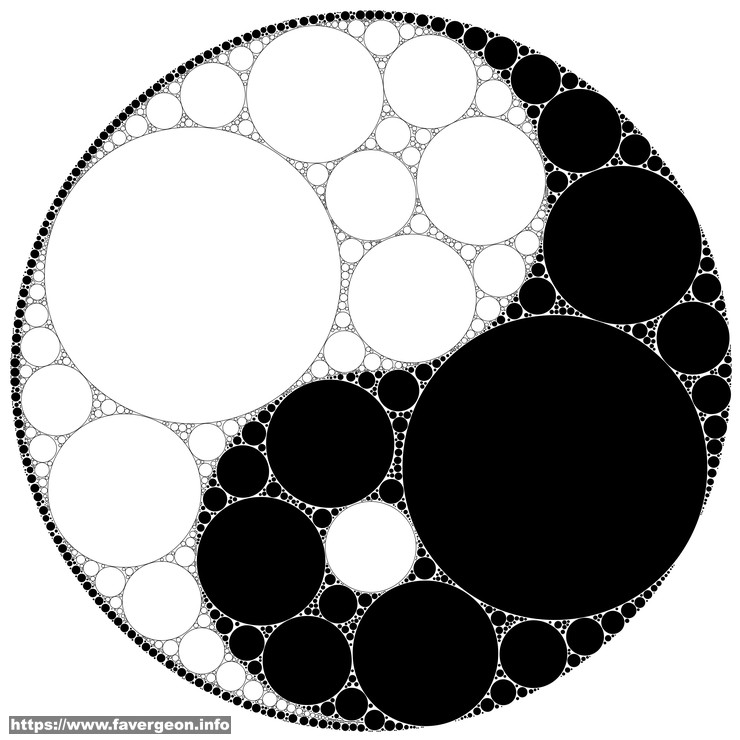
In this post, I’d like to explain how I have created pictures like this Yin Yang symbol :
It is starting with the distance transform using an Euclidean distance.
To see how it works, let’s apply this distance transform to a white rectangle on a black background:
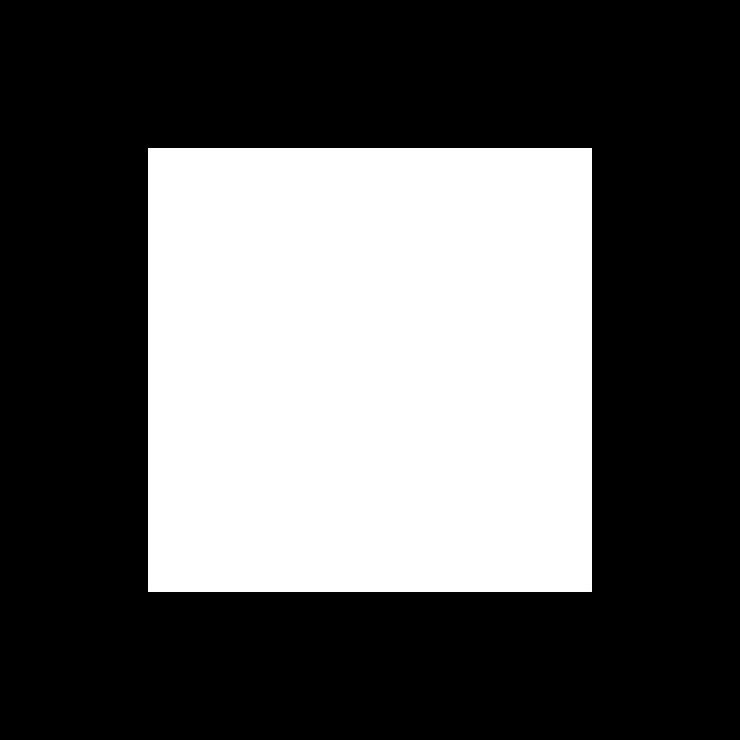
We get the following result:
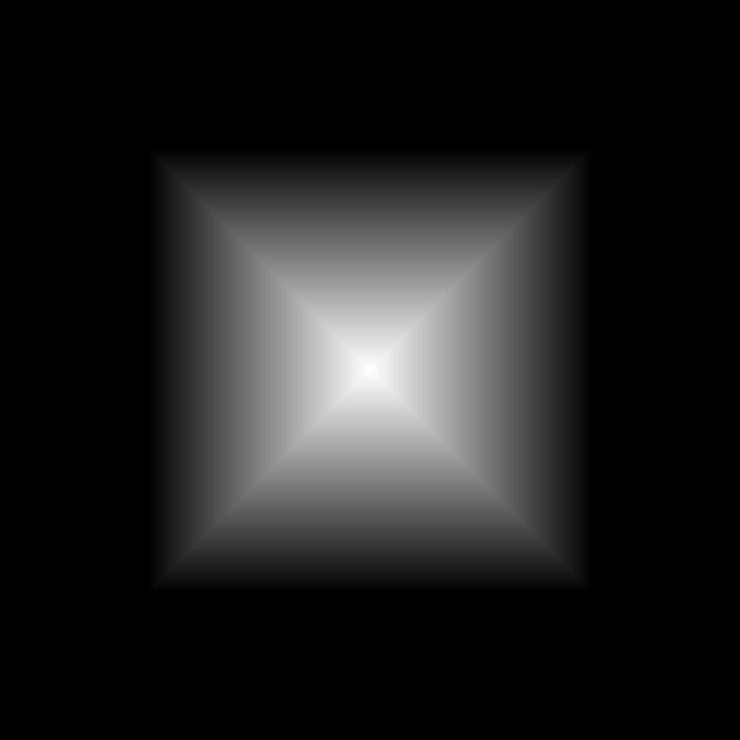
Each pixel is giving the distance to the closer obstacle. So, if at a pixel we put a circle with radius given by the pixel value, then this circle will only touch the closest obstacle.
For instance, if we select the center pixel on the previous image we get:
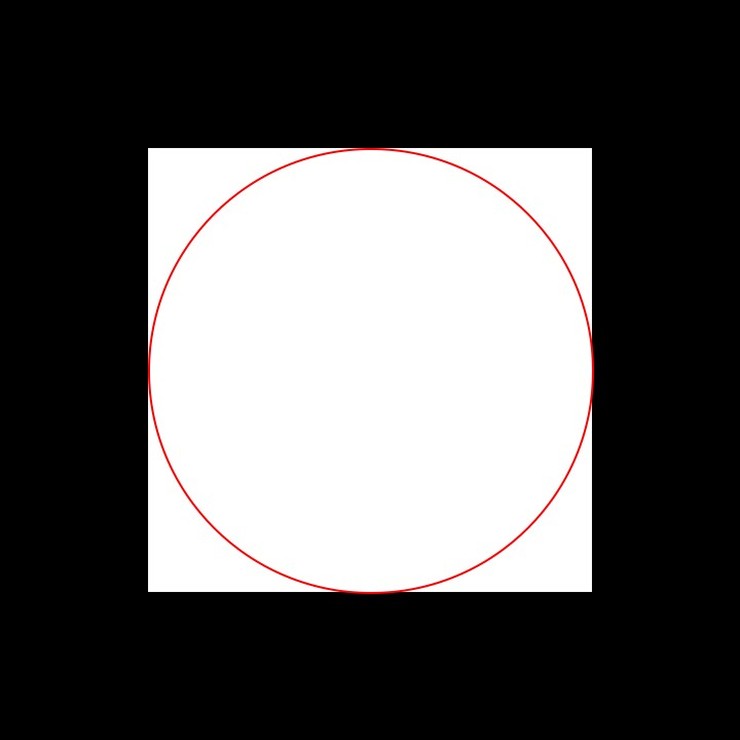
We see that the red circle is touching the sides of the square.
The algorithm is thus :
- Computing the edges of a picture ;
- Applying the distance transform ;
- Starting with the bigger circles and trying to place them ;
- Continuing until all the circles have been placed.
When placing a new circle, we must check that it is not overlapping with a circle already placed on the picture.
If it is overlapping, its radius is decreased. One input of the algorithm is a list of radius to use when decreasing the radius of the overlapping circles.
Once we have this list of circles, we can generate the final picture. Different stylings can be used to draw the circles.
And it is how the Yin Yang picture was generated.
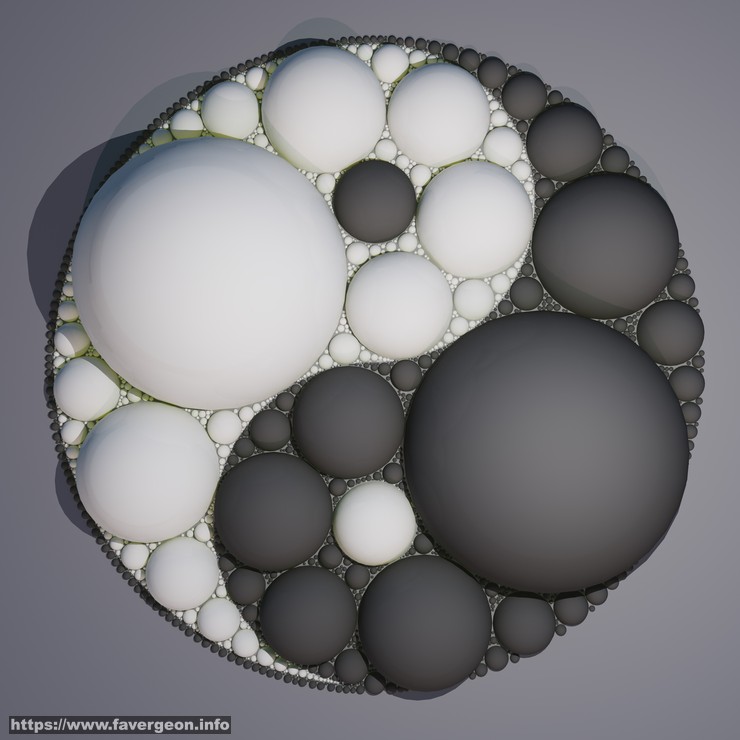
We can also generate 3D pictures:
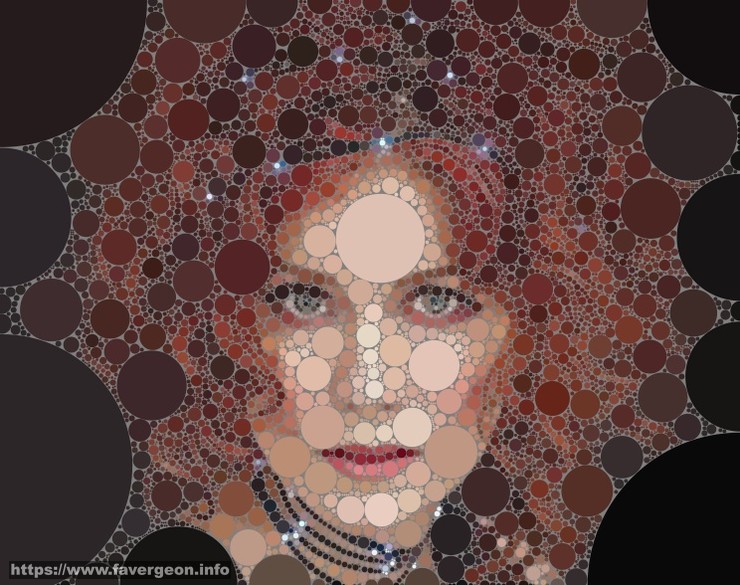
It also work well on photos. But the edge detection is the tricky part. Some filtering may be needed.
(Thanks to Anina for allowing me to use the photo.)
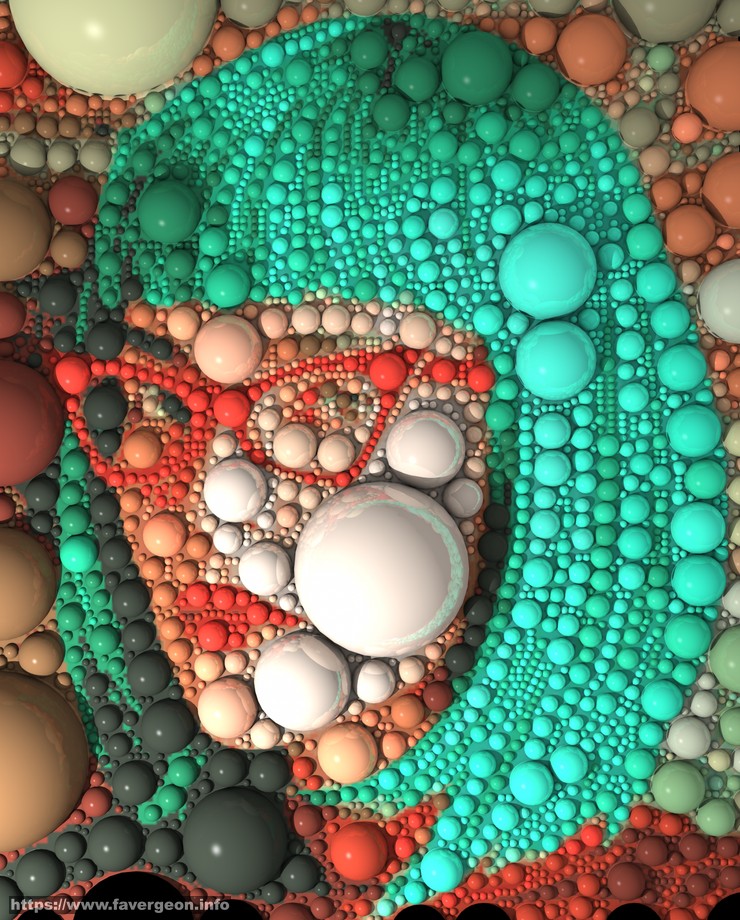
Vivid colors are giving very nice results:
And it is also possible to apply the algorithm to a video with interesting results:
Thanks to Sephora Venites to allow me to use some photos and videos for experimenting with my algorithms.
